
 0
0

ledlabs sprzedawca
How to install an LED strip
LED strips are among the most popular light sources available on the market. This is due to the large selection of models, relatively easy installation methods and the huge variety of potential arrangement options.
The above mentioned features of LED strips allow for quite a wide range of options for manipulating sections of LED strips: by cutting and joining them, which allows for a precise adjustment of dimensions to suit any specific installation.
Installing, cutting and connecting the LED strips are all relatively simple tasks that most DIY enthusiasts could handle. In order to make the performance of the whole process an art, you should remember a few rules.
Assembly methods of LED self-adhesive strips
The LED strips available on the market are produced with a self-adhesive base by default, ensuring the possibility of quick, direct installation. An LED strip glued to a target surface using the original self-adhesive strip should be long-lasting, provided that the surface is properly prepared. To ensure a strong bond between the adhesive strip and the surface, we should first clean the surface of dirt and grease, preferably with a surface degreasing solution. White spirit or an isopropanol-based degreaser will produce the best results.
It is worth paying attention to a few additional issues here. Not all surfaces have a uniformly smooth structure, allowing for direct, permanent installation of the LED strip using the original self-adhesive strip. Installation of a bare LED strip is not always possible due to the exposure of the LED strip to external factors in the room, such as possible splashes of water or long-term exposure to water vapour, which are common in the bathroom or kitchen. In such a situation, it should be remembered that the perfect installation method is to place the LED strips into a dedicated aluminium profile.
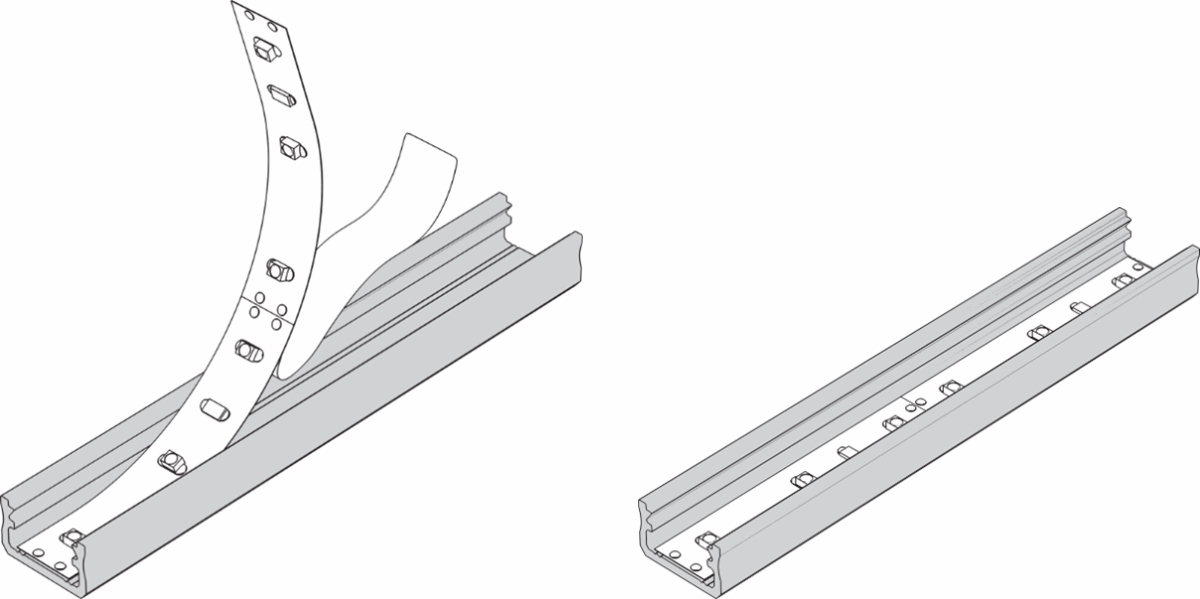
Installation of the LED self-adhesive strip in the Lumines Lighting aluminium profile.
The LED profiles, along with a matching cover, will be the first protection against external factors, while ensuring better dissipation of the heat emitted by the LED diodes, which in turn will improve the shelf life of the LED strip. The adhesion of the strip in the profile itself is also more durable due to its smooth internal surface.
LED strip connection
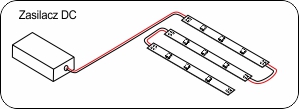
Low voltage LED strips are most often powered by 12V or 24V DC. It is not complicated to connect them to the mains power in the home, but considering that the installer will be working with 230V mains power supply, it requires special health and safety measures and compliance with several important rules. When buying an LED strip, pay attention to the voltage you have selected, because you will need to choose a power supply that provides the same voltage output.
The first step is to connect the 230V AC voltage from the mains power with the power supply for the installation. Connect the power cables to the input of the power supply, connect the LED strip to the output, connecting the plus with the plus, and the minus with the minus of the LED strip. With mains power, we deal with alternating voltage (AC), which needs to be transformed into a much lower voltage DC current, ensuring a constant low voltage with which most standard LED strips are supplied. Done correctly, this allows for the safe use of the new installation.
LED strip cutting
We supply the LED strips with power, which means that their structure consists of LED modules connected in series-parallel. This arrangement of the circuitry means that we can shorten the strip to almost any length – as long as the cut is at one of the marked sections of each module (connection place). The modules are arranged one after the other in a flexible printed circuit (PCB). This also makes it possible to bend the obtained light line in one plane, i.e. you can roll the strip up making it easy to transport.
The LED strips available on the market for self-installation most often come in five-metre rolls (the offer of LED Labs Lighting also includes longer, 10m, 25m, 50m rolls of the LED strips). What if the lighting arrangement planned by us requires a shorter section? Depending on the distributor from whom we purchase the LED strip, it is possible to purchase a piece already cut to the length of interest, or you can cut the LED strip at home. Cutting the LED strip is a simple process. All LED strips have marked sections (on their top surface) where they can be cut, which, depending on the model, may differ in length. The most common is 5cm sections. However, the cutting sections can be twice as short or long, even up to 12 cm, depending on the voltage or the LED diodes used in the strip.
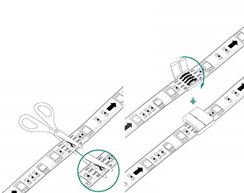
The process of cutting the LED strip and connecting individual sections of the LED strip with a connector.
To sum up, make sure you cut the LED strip in the place indicated by the manufacturer to ensure that none of the circuits are broken, resulting in all LED diodes cut in that section to have no access to power. What if we cut the strip in a place not intended for it? That, now incomplete, section of the strip will not have power and therefore will not illuminate.
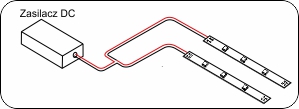
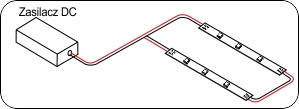
Connecting LED strips
But what if the planned lighting requires the installation of a section of the LED strip longer than 5 meters?
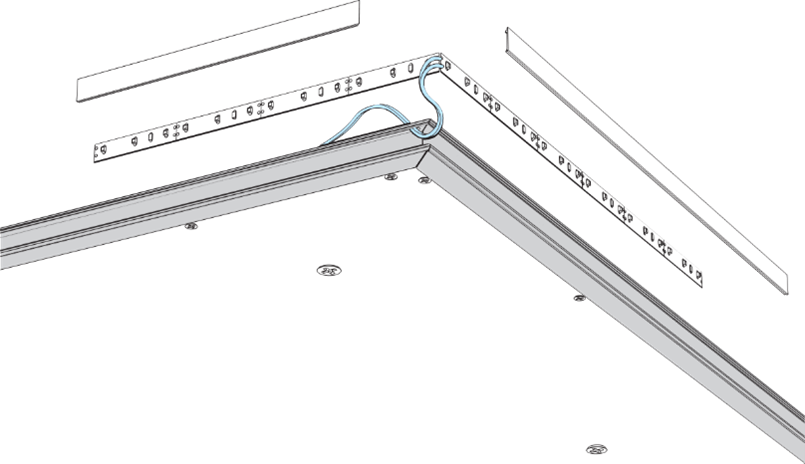
Installation of two sections of the LED strip in the APA 12/16 Lumines Lighting profile
There are LED strips available on the market that are rolls of several dozen meters, but this does not mean we can just install these huge lengths of LED strips. Even if you buy a 10 m section of 12V LED strip and want to make a 10 m light line, you have to cut this section in half and connect each 5 m on a separate power supply (parallel to the power supply). This means that we cannot connect more than 5 m in one section, even if the reel is longer and the installer feels tempted to lay the full length without cutting it. For 24V strips, the above values will usually be twice as high, i.e. 10 m instead of 5 m.
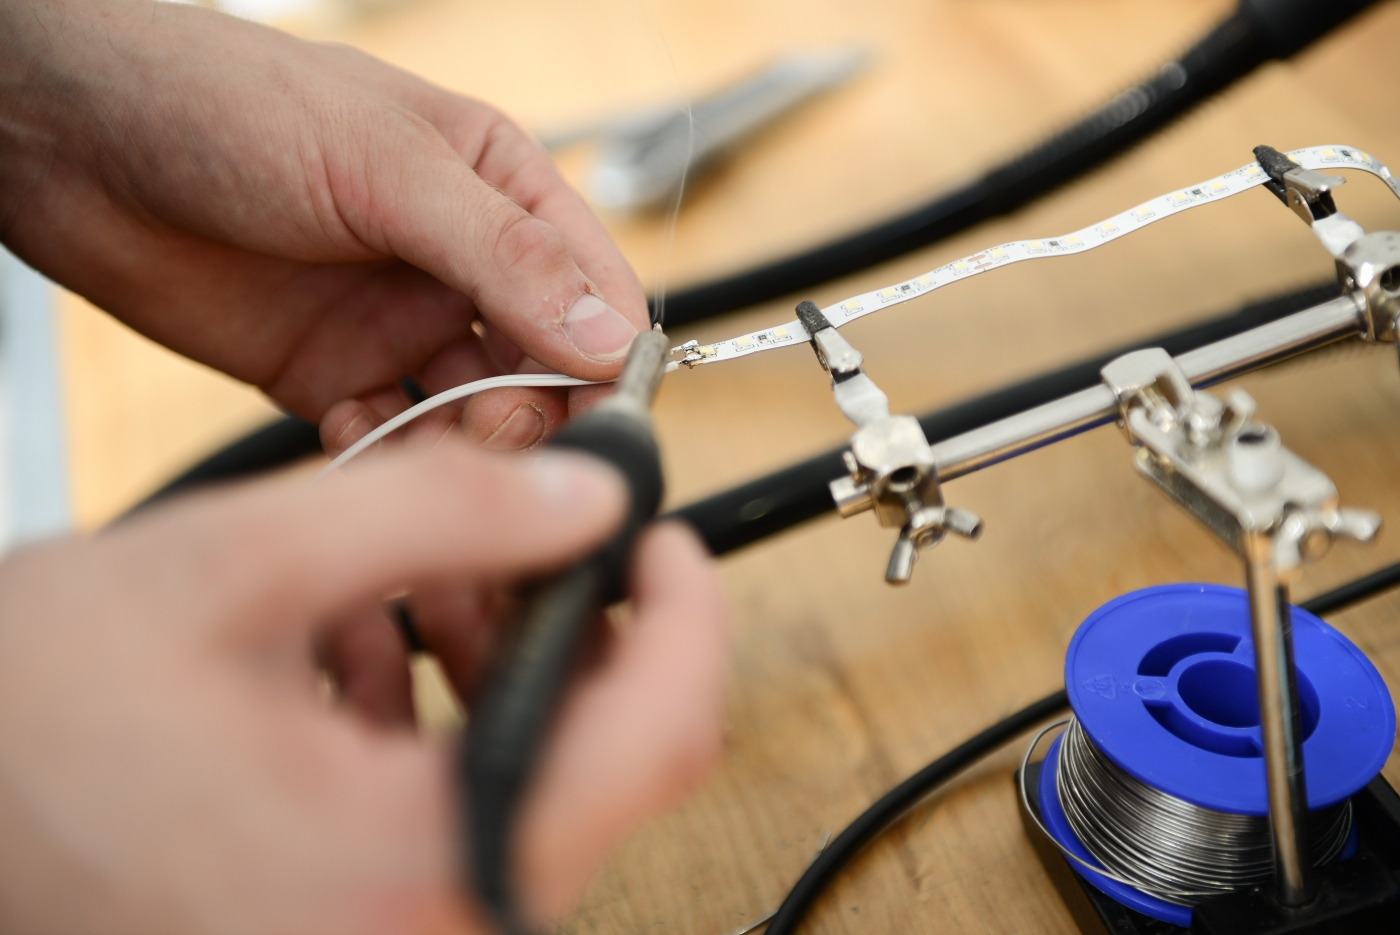
When cutting, we follow the same instructions outlined above, and the process is similar but in reverse for the connection of sections. We connect the sections together in the same place indicated by the manufacturer as the cutting point. Soldering two sections of the LED strip is extremely simple. Remember to connect plus with the plus and minus with the minus on the copper track on the LED strip. If we are careful not overheat the soldering iron and connect both parts with solder, the bond will be solid and durable.
Connecting sections of the LED strip in series
While the basic connection of two sections of the strip is not very complicated, it is important to remember about the possibility of voltage drops in longer sections of LED strips.
The more commonly used 12V tapes, when creating longer, for example 10 or 15 meter sections, will notice a visible decrease in brightness on the LED diodes located further from the point where the power supply is placed. This is common when connecting longer lengths of strip, but fortunately, below we describe several methods to improve the situation.
LED strip voltage drops
When working with the most commonly used 12 V strips, voltage drops when connecting long sections can occur quite frequently. To avoid dimmer LED diodes at the end of the installation, first of all, let us think about choosing a high-quality strip. The LED strips equipped with a thick PCB base will be more resistant to voltage drops. There are mainly 2 oz or 3 oz (oz = ounce) strips on the market. Single-layer PCBs with a thickness of 1 oz are less common due to their low quality. High-quality strips start with a 2 oz double sided base. The strips with PCB equal to 3 oz are already classified as professional applications; the offer of LED Labs Lighting includes the strips from the 3Y and 5Y series.Of course, you can decide to use 24V LED strips, which allow the connection of sections of even longer than 10 meters, without noticeable differences in the brightness of the LED diodes. However, if we have already decided to install a 12V strip, the appropriate method to connect the tape will be to cut it and connect both sections to a power supply. The most common methods of connecting the LED strips include parallel and double-sided connection.
Parallel connection of sections of the LED strip
Double-sided connection of sections of LED strip
Parallel connection is the most common connection method. Even if we have a strip with a section of less than 5 m, e.g. 3 m, we can connect two sections of 1.5 m in parallel to eliminate the chance of voltage drops. However, it is worth noting that in good quality tapes, such as 3YB, 3Y or 5Y, there is no such necessity.
Double-sided connection allows output from the power supply to both ends of the LED strip going in different directions, which reduces the chance of potential voltage drops causing differences in the brightness of the LED diodes.
In addition, attention should be paid to the material from which the cable is made, its length and the cross-section between the power supply output and the strip. All these factors can have a large influence on the chance of a voltage drop occurring. For this reason, it is recommended to choose the components carefully. The thicker the cable, the lower the voltage drop is. To properly choose the diameter of the cable, it is best to use electrical calculators.
Connecting waterproof strips
A frequently occurring question is how to connect waterproof LED strips together. The most common IP 65 protection on the market consists in enclosing the LED diodes in a gel that protects them. Regardless of whether we are talking about a classic waterproof strip in gel or about the ever more popular Heat Shrink strips, which more tightly adhere to the diodes, we proceed in the same way as with the standard strip. After appropriate cutting and connecting the sections of the LED strip, strengthen the protection of the waterproof in the place where the gel or the HS coating is broken, by applying a transparent heat-shrinkable overlay. Such a procedure will increase the protection against moisture, while not causing a dark point in the connection place of two sections.
However, the heat-shrinkable cap will not always be the best option. As far as dense strips are concerned, tightening by heating may damage the diode. There are special sealing substances for LEDs available on the market, which are optically transparent and do not cause discolouration of the LED diodes (which the heat shrink cap does sometimes cause). Additionally, they do not require heat, thus minimising the risk of damaging the diode. For example, there are silicone sealants or various similar types of sealing compounds.
Summary
Installation of LED strip and connecting LED strips into longer sections is a relatively simple process that, when performed by following a few simple rules, will provide you with a great deal of satisfaction from your own handiwork. We wish all home DIY and electronics enthusiasts the best of luck!