
 0
0

Administrator LED Labs
Creative application of RGB LED controllers to control single-color LED 12V DC lighting
The RGB LED drivers allow you to divide the lighting into 3 sections, each of which can be separately turned on and off, adjusting the light intensity of each section (note - only possible with some drivers), obtaining dynamic effects such as: strobe, smooth transitions or jumps between sections.
Firstly, you should choose a compatible set, considering the correct selection of the power supply and the RGB LED driver to the power of controlled LED bulbs or LED strips - for example, if you want to control 9 LED MR16 12V DC bulbs with a power of 4W.
Connecting 12V LED bulbs (MR16, MR11, G4) so as to:
Divide the bulbs into three separate sections, each of which can be individually turned on and off.
Make it possible to dim and brighten.
Using the RGB driver to connect 12V bulbs in 3 separate sections.
Connecting 12V bulbs of the MR16, MR11, G4 type with the RGB driver is primarily intended to allow the connection of many bulbs for up to 3 separate sections in an amount not exceeding the power of the power supply and driver. An excess of bulbs combined with the incorrect selection of the driver and power supply may cause fault. For this reason, our article will present appropriate combinations based on light bulbs, power supplies and the RGB driver, which are all available on the LED Labs website.
Depending on the number of chosen bulbs, we need an appropriate power supply that will be able to provide the appropriate power output.
The power of the standard MR16 bulb found in our offer is 4W. If we were to use 9 such bulbs, we need a power supply with a power of at least 36, or more, e.g. 45W. We assume that we want to divide them into 3 sections of three bulbs so that each section of the bulbs can be freely controlled. To complete this step, we need the RGB driver with a remote control attached to it.

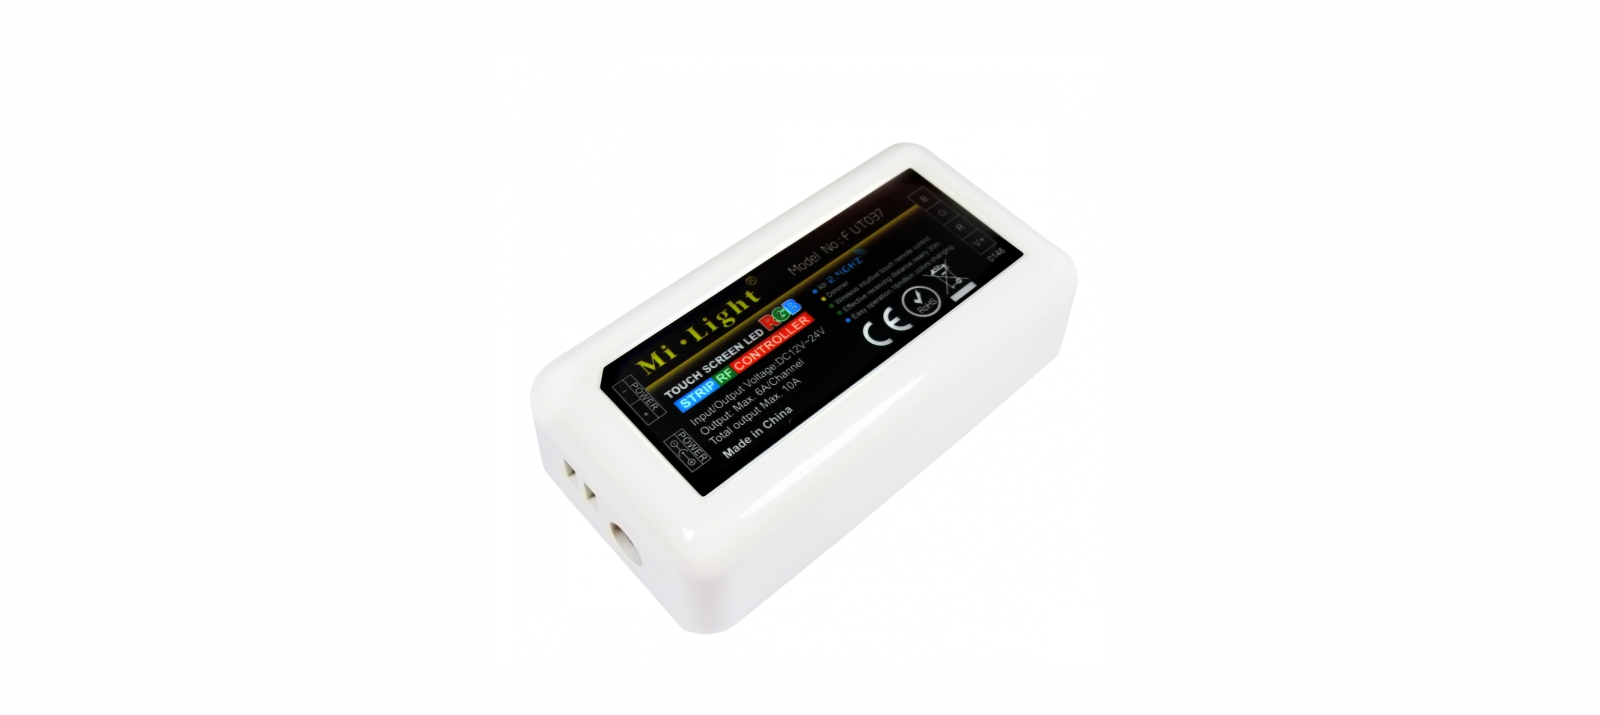
Fig. 1. Example of the remote-controlled RGB LED driver from the LED Labs offer.
The RGB driver with remote control supports 3 channels. The maximum current that can be controlled on a single channel is 4 Amps. In the case of our MR16 bulbs, we can connect 12 bulbs on one channel, which with 3 channels allows you to control 36 bulbs. Each basic colour on the driver corresponds to one section of light bulbs. By choosing intermediate colours (blue, yellow, pink) we can light up and dim 1,2 or 3 sections at once.
Installation of bulbs and a driver
Having bulbs divided into sections and having the appropriate power supply, we can proceed to installation. Many of you will surely ask what cable to use to connect the driver to the bulbs. The larger the cross-section, the better. As already mentioned, the maximum current that we can control on one channel is 4A. If the bulbs are 15 meters away from the driver, assuming the maximum (12) number, so that the voltage losses do not affect the quality of the bulb power supply, use a 2.5 mm² cable. If we want to install only 4 bulbs, 5 meters away from the driver, we can use a cable with a cross-section of 0.35mm². The order for assembling the elements is: power supply - driver – bulbs. All bulbs should be connected in parallel to the driver, as shown in the figure below.
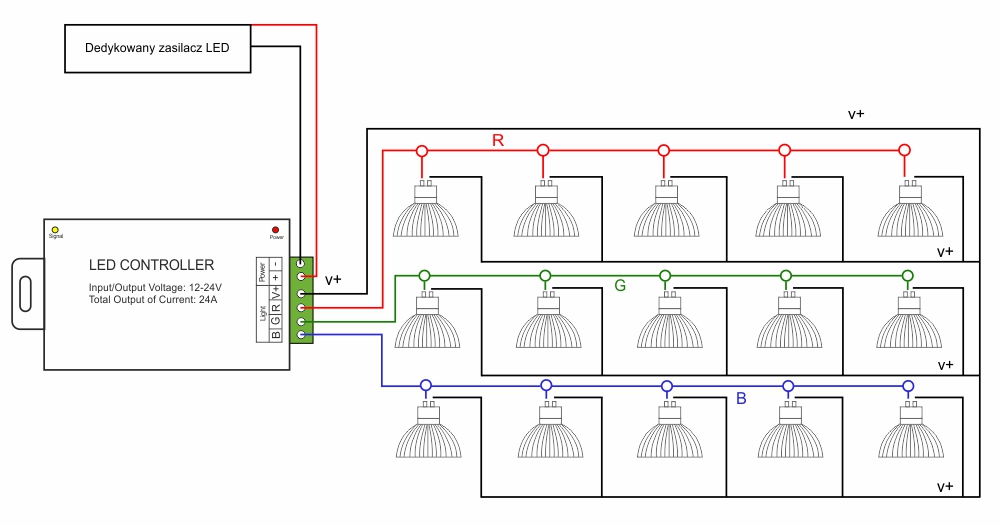
Fig. 2. Diagram of connecting MR16 12V DC LED bulbs to the RGB LED driver.
Bulbs connected in this way can be controlled by a remote control with a range of up to 20 meters, so you can control the lighting in the entire apartment from one point.
Using a remote dimmer to connect 12V bulbs
Using a dimmer combined with 12V MR16, MR11 or G4 bulbs allows the dimming, brightening and turning on and off of light bulbs, as long as the total combined power of the dimmer and power supply does not exceed the limit of the dimmer. An excess of bulbs used with the incorrectly chosen dimmer/power supply can cause failure, so we will demonstrate a combination based on light bulbs, power supply and dimmer that are all available on the LED Labs website.
The remote controlled dimmer is able to operate a maximum of 96W of lighting. In the case of our 4-watt bulbs, this allows 24 bulbs.
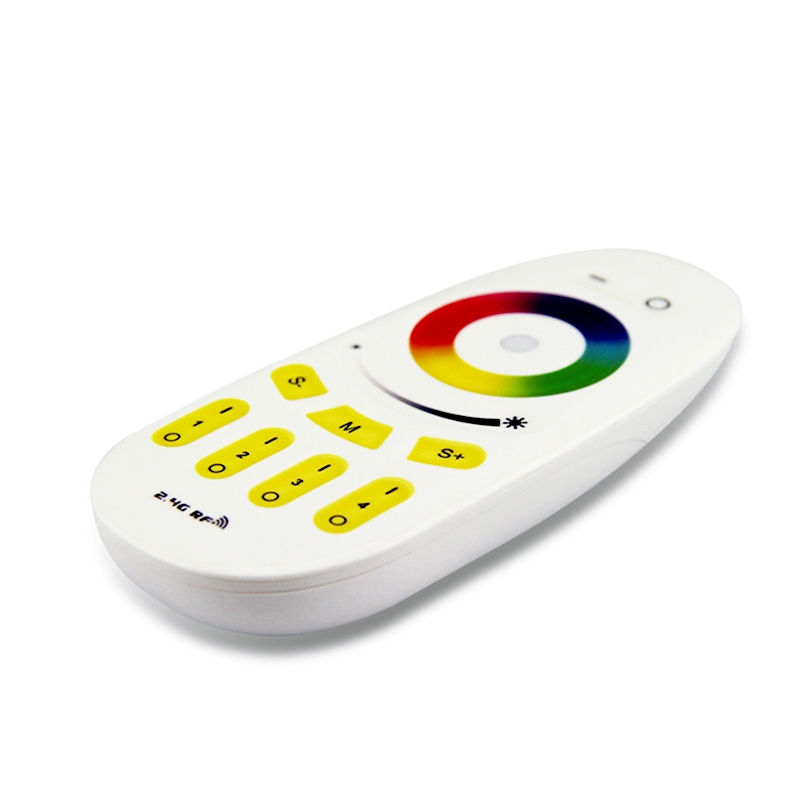
Fig. 3. Remote LED dimmer 8A 12V DC dimmer.
Installation of light bulbs and dimmer
Having the appropriate power supply and dimmer, we can proceed to installation. The order of assembly is: power supply - dimmer - light bulbs. As in the case of the RGB driver, we must make sure there is a sufficiently large cross-section of the cable through which we will power the bulbs. The maximum current that we can control using the dimmer is 8A. When installing 24 bulbs, the last of which will be 10 meters away from the dimmer, we must use a cable with a cross-section of 4mm². If, however, we want to install 10 bulbs at a distance of no more than 5m, a cable with a cross-section of 0.75mm² is enough. We install the bulbs in parallel, as shown in the diagram.

Fig. 4. Diagram of connecting MR16 12V DC LED bulbs to the LED dimmer.